
Home / Articles / How to Remove Mould from Walls: A Safe DIY Guide for Homeowners
Introduction
Mould is a persistent problem for many homeowners, especially in areas where humidity and moisture are prevalent. Singapore’s tropical climate, with its constant heat and high humidity, provides the perfect breeding ground for mould growth on indoor walls. Left untreated, mould can spread quickly, damaging paint, wallpaper, and even the underlying structure of the wall. It can also affect indoor air quality, which can contribute to respiratory issues, allergies, and other health problems.
Whether you’ve recently spotted some minor discolouration on your bathroom walls or noticed a musty smell in the corners of your living room, this comprehensive guide on how to remove mould from walls is designed to help you take control of the situation. Homeowners who are dealing with minor mould issues can often handle the problem with a structured DIY approach. However, when mould becomes more extensive or difficult to control, professional help may be required.
This article outlines a safe, effective process for mould removal in Singapore, helping homeowners address minor mould growth while preventing it from returning. It also introduces helpful products, for both cleaning and protection, and discusses when you may need to book a professional mould inspection to address larger, recurring mould problems.
Key Takeaways:
- How do I know if mould on my wall is a minor problem?
Minor mould typically appears as small, dark spots on painted or drywall surfaces, often in high-moisture areas like bathrooms and kitchens. If it’s confined to a small, visible area, it’s likely safe to handle with DIY methods. Knowing how to remove mould from walls early can prevent it from spreading.
- When is DIY mould removal a suitable option?
DIY mould removal is suitable for small, accessible patches of mould that have not spread extensively or penetrated deeper materials. If the mould is recently formed and remains surface-level, it can be treated effectively with the right tools, such as the Mould Prevent Pro DIY Kit. This kit allows you to remove mould from walls safely at home.
- What are the signs that I should seek professional help for mould removal?
If the mould has spread to large areas, keeps returning despite cleaning, or is suspected to be hidden behind walls, professional help is necessary. Health issues like respiratory problems or allergies may also require a professional inspection to address the root cause. Professional help can guide you when mould removal requires more than a DIY approach.
- Why is regular cleaning important for mould prevention?
Regular cleaning helps eliminate moisture-trapping residues and prevents mould from returning. Products like Botanics Multi-Purpose 2L can be used to disinfect and maintain surfaces, ensuring that conditions for mould growth are reduced over time. Understanding how to remove mould from walls and maintaining regular cleaning routines keeps your home safe.
- What steps can I take for long-term mould prevention?
To prevent mould recurrence, control humidity levels, fix leaks promptly, improve ventilation in moisture-prone areas, and ensure good drainage around your home. Using preventive treatments, like the Mould Prevent Pro DIY Kit, can also reduce the chances of mould returning and teach you how to remove mould from walls effectively.
Why Mould Appears on Walls and How to Tackle It
Mould growth on walls is often a result of the moisture build-up in indoor spaces. Singapore’s high humidity levels, combined with poor ventilation, create the perfect conditions for mould to thrive. Mould growth typically starts as small, dark spots that often go unnoticed at first, but these can quickly spread into much larger patches.
The most common places to find mould on walls are:
- Bathrooms: Especially around showers and tubs, where humidity and condensation accumulate.
- Kitchens: Around windows or behind cabinets where moisture from cooking or dishwashing lingers.
- Bedrooms: Prolonged AC use can create condensation on walls or near vents, promoting mould growth..
- Around Air Conditioners: Particularly near indoor units, vents, or piping, where condensation, poor drainage, or temperature differences can create damp conditions that encourage mould growth.
While it’s tempting to ignore the problem in its early stages, tackling it promptly can save you a lot of time and hassle later. Mould removal isn’t simply about wiping off the surface stains; it’s about tackling the factors causing mould and applying preventive measures to avoid recurrence. For this, knowing how to remove mould from walls is crucial.
Furthermore, understanding how to remove mould from walls early can help you protect your home and prevent further damage. By using the right tools, cleaning solutions, and preventive treatments, homeowners can effectively manage minor mould growth without resorting to costly professional services.
Why It’s Important to Act Quickly
Mould spreads through airborne spores that can easily travel to other areas of the house. Once it’s settled on a surface, it begins to eat away at organic materials, such as wood and drywall, leading to decay and structural damage. In addition to damage to your walls, mould growth can also have serious health consequences, particularly for those with respiratory issues, allergies, or weakened immune systems.
By removing mould as soon as it appears, you can prevent more extensive damage, improve the quality of the air in your home, and avoid the need for expensive professional mould removal services later on. Early treatment is the key to effective mould control.
Identifying Minor Mould and Understanding When DIY Removal Is Safe
2.1 How Can You Tell If Mould on Your Wall Is Still a Minor Surface Problem?
Before you dive into removing mould, it’s essential to determine whether the mould issue is still a minor surface problem. If the mould is restricted to a small area, it’s likely safe to handle the issue yourself. However, if you’re unsure, always err on the side of caution and consult with a professional.
Here are some characteristics of minor mould:
- Small patches: Typically a few inches across, often appearing on painted or drywall surfaces.
- Varied colors: Can appear black, yellow or white indicating the presence of mould colonies.
- Visible only on the surface: Typically stays on the surface, though slight penetration into paint or drywall can occur; usually not a sign of major structural problems.Minor mould growth is usually not a sign of an underlying structural problem.
- Occurs in high-moisture areas: Such as bathrooms, kitchens, or basements, where moisture and humidity are high.
If the mould fits this description, you can proceed with a DIY approach to remove the growth. Be sure to use the appropriate cleaning products, such as the Mould Prevent Pro DIY Kit, which is specifically designed for minor mould spots and guides you on how to remove mould from walls safely.
Step-by-Step Guide to Removing Minor Mould from Walls
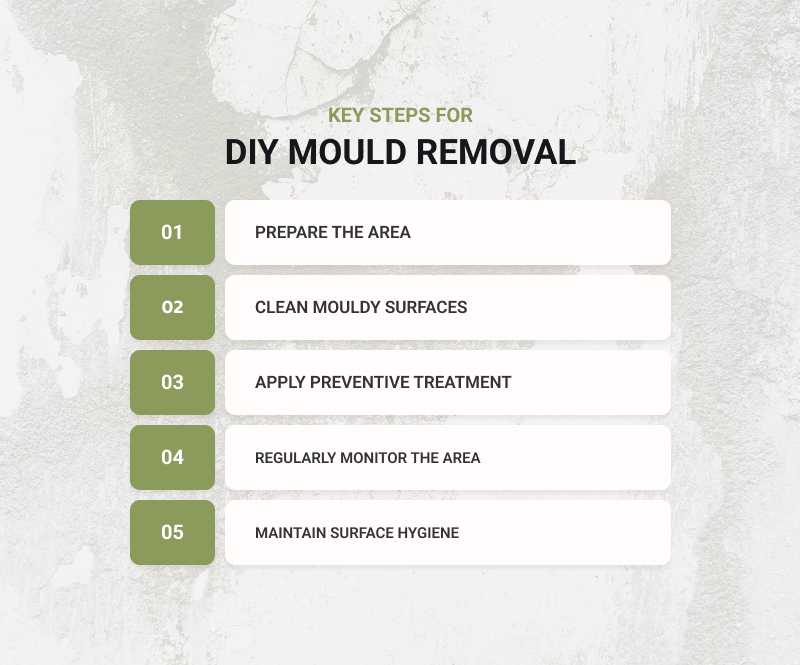
3.1 Preparation Before Cleaning Mould
Proper preparation is essential for effective mould cleaning in Singapore. Before you start cleaning, take the following steps:
- Clear the Area: Move furniture, decor, and other items away from the mouldy wall. This gives you better access to the affected area and prevents contamination.
- Ventilate the Room: Open windows, doors, and use fans to promote airflow. Adequate ventilation reduces moisture in the room, which can help prevent the mould from spreading.
- Protect Yourself: Mould spores can cause health issues when inhaled, so wear protective gear, including gloves, goggles, and a mask that covers your nose and mouth. This protects you from direct exposure to spores during the cleaning process.
- Gather Cleaning Tools: You’ll need the Mould Prevent Pro DIY Kit, a soft-bristled brush or cloth for scrubbing, and a clean towel for wiping the area.
By preparing the area, you ensure that the cleaning process goes smoothly and effectively. It also helps prevent mould spores from being spread to other areas of the home, ensuring that you follow the proper steps when learning how to remove mould from walls.
3.2 Cleaning Mould from the Walls
Once you’ve prepared the area, the next step is to clean the mould from the surface. The Mould Prevent Pro DIY Kit contains a solution designed specifically for removing minor mould. Here’s how to clean the wall:
- Apply the Mould Cleaner: Spray the cleaner generously on the mouldy area, making sure it’s fully covered. Let it sit for a few minutes to loosen the mould.
- Scrub the Area: Using a soft-bristled brush or a cloth, gently scrub the mould from the wall. Be cautious not to spread the spores to surrounding surfaces.
- Wipe Away Excess Cleaner: Once the mould is removed, use a clean, damp cloth to wipe away any remaining cleaner or mould residue.
- Dry the Wall: Ensure the area is completely dry before proceeding with preventive treatment. Leaving the wall damp can promote further mould growth.
3.3 Applying Preventive Treatment to Stop Mould from Returning
Once the mould is removed, the next step is applying a preventive treatment. The Mould Prevent Pro DIY Kit includes a solution that helps protect your wall from future mould growth. Here’s how to remove mould from walls for good:
- Apply the Preventive Solution: Spray the solution on the cleaned area, covering the surface evenly.
- Allow It to Dry: Let the surface dry completely before touching or using the space again. The treatment forms a protective barrier that makes it harder for mould to return.
Preventive treatment is key for homeowners looking for long-term mould prevention. It stops new spores from taking root, ensuring that your wall stays clean and dry for a longer period.
Ongoing Maintenance and Mould Prevention
Maintaining a mould-free environment doesn’t end after you’ve cleaned the affected area. Preventing mould from returning requires consistent maintenance and monitoring. Here’s how to remove mould from walls permanently and keep your home safe.
4.1 Regular Cleaning and Surface Hygiene
Regular cleaning is essential to keep mould at bay. Even after removing the visible mould, it’s important to maintain a regular cleaning schedule to reduce conditions that promote mould growth. Mouldy walls are often the result of lingering moisture or residue left on surfaces, so regular cleaning is key to maintaining a healthy environment.
Botanics Multi-Purpose 2L is an excellent solution for maintaining general surface hygiene. It’s designed to be used as part of your regular cleaning routine to ensure that moisture doesn’t accumulate and to help keep your surfaces clean and dry. Areas with high humidity levels, such as bathrooms, laundry rooms, and kitchens, should be cleaned frequently to prevent mould from taking hold.
Here are some cleaning tips to incorporate into your routine:
- Wipe down surfaces regularly: Particularly in moisture-prone areas like around windows, under sinks, and near pipes.
- Use a mild cleaning solution like Botanics Multi-Purpose 2L to clean walls, ceilings, and other surfaces. This solution is safe to use on painted walls and will help eliminate moisture-trapping residues.
- Check for leaks: Keep an eye on pipes and fixtures to ensure they’re not leaking water into your walls. Fix leaks immediately to prevent moisture accumulation.
By staying on top of cleaning, you can reduce the chances of mould returning and prevent it from spreading to other parts of your home. Knowing how to remove mould from walls and taking regular preventive steps can help ensure that your home remains free of mould growth.
4.2 Why Monitoring Is Important After Mould Removal
Even after successfully removing mould and applying preventive treatments, monitoring the treated areas is crucial for long-term mould management. Changes in humidity, sudden water damage, or poor ventilation can all lead to the resurgence of mould.
Signs You Should Monitor:
- High humidity levels: Singapore’s tropical climate means that humidity can fluctuate, especially during the rainy season. Humidity levels over 60% can promote mould growth.
- Poor ventilation: Rooms with limited airflow are more likely to develop mould. Keep areas like bathrooms and laundry rooms well-ventilated to ensure air circulation.
- Moisture or water leaks: Plumbing leaks, roof leaks, or even improperly sealed windows can cause water to enter your walls, providing the ideal environment for mould growth.
Regularly inspect areas that were previously affected by mould. Check behind furniture, around window sills, and in corners of rooms where air circulation is limited. If you notice any new signs of mould growth, take immediate action to clean it before it spreads. By learning how to remove mould from walls and maintaining vigilance, you can prevent recurring problems.
However, you don’t have to do this on your own. MouldGone provides professional mould inspections to assess the extent of mould in your home. Their team can spot hidden mould that might be difficult for you to detect and provide solutions to resolve the issue.
4.3 How to Maintain Long-Term Mould Prevention
Long-term mould prevention requires a combination of environmental control and consistent maintenance. Mould prevention isn’t just about cleaning, it’s about managing moisture levels and ensuring your home’s environment is conducive to a mould-free space.
Here are key strategies to maintain long-term mould prevention:
- Control humidity: Use a dehumidifier or air conditioner to keep humidity levels in check. Target 40-60% humidity to make your home less hospitable to mould.
- Fix leaks promptly: Ensure that your plumbing is in good condition. Repair any leaks immediately to prevent water from accumulating inside walls or under floors.
- Use a ventilation fan: Install fans in bathrooms, kitchens, and laundry rooms to keep the air circulating and reduce moisture.
- Ensure good drainage: Ensure that the ground around your home slopes away from the foundation, preventing water from pooling near the walls. Check your gutters regularly to ensure water isn’t overflowing onto your walls.
By maintaining a consistent, well-managed indoor environment, you can drastically reduce the likelihood of mould returning and prevent future issues from arising. Knowing how to remove mould from walls is essential for any homeowner dealing with mould. Botanics Multi-Purpose 2L is a simple, yet highly effective tool to include in your cleaning routine. It not only disinfects but also helps to keep surfaces hygienic, further reducing the risk of mould growth.
When to Book a Professional Mould Inspection
While DIY mould removal is an excellent option for minor issues, there are times when you need to bring in the professionals. If mould spreads to large areas or keeps returning despite cleaning, professional intervention becomes essential.
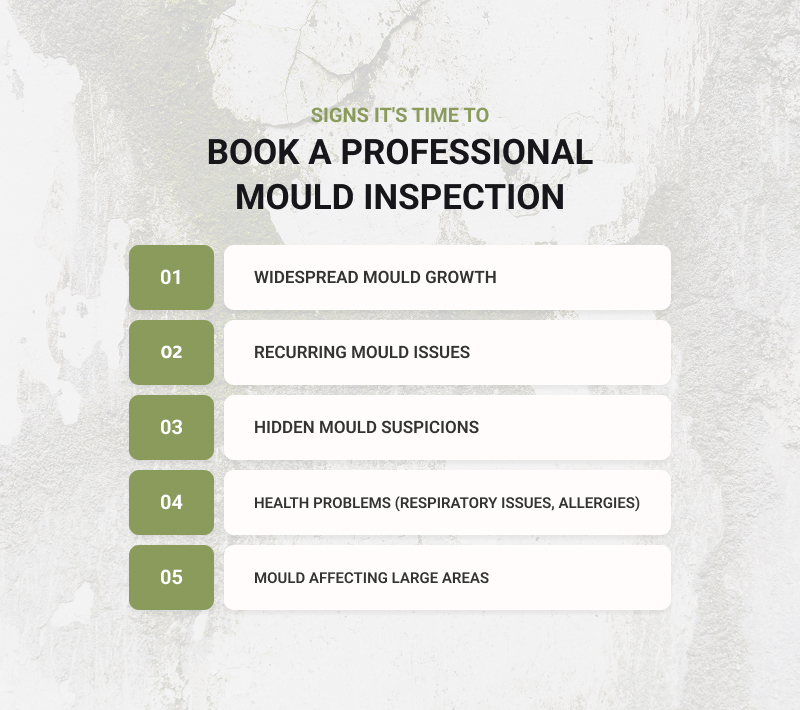
5.1 Signs That DIY Mould Removal May No Longer Be Enough
Some signs that indicate the need for professional mould inspection include:
- Widespread mould growth: If mould has spread across multiple walls, ceilings, or rooms, DIY methods may no longer be sufficient to address the issue.
- Mould returns repeatedly: If you find yourself cleaning mould spots frequently and they keep coming back, it could indicate an underlying issue, such as hidden mould or excessive moisture.
- Health concerns: If you or your family members are experiencing respiratory issues, headaches, or allergic reactions, it may be time to seek professional help to address the hidden mould issue.
5.2 Why Professional Mould Inspection Matters
A professional mould inspection from MouldGone is crucial for several reasons:
- Thorough evaluation: MouldGone specialists will assess the full extent of the mould problem, including hidden mould behind walls, floors, or ceilings.
- Root cause identification: It’s not just about cleaning the surface mould. Professional inspectors identify the underlying causes, such as leaks or inadequate ventilation, that contribute to mould growth. This ensures they know precisely how to remove mould from walls and stop its return.
- Safe and effective solutions: MouldGone’s team uses non-toxic, safe mould removal solutions to protect your home while treating the problem.
If you’re dealing with larger, persistent mould problems, MouldGone’s inspection service will provide the comprehensive solution needed to address the issue fully.
5.3 How MouldGone Helps Address More Serious Mould Problems
MouldGone offers professional mould inspection and removal services designed to help homeowners deal with larger, persistent mould problems. Their team is equipped with the expertise and tools necessary to:
- Inspect all areas of your home for hidden mould.
- Identify moisture sources and offer solutions to eliminate them.
- Provide non-toxic, long-term mould removal and prevention solutions.
If mould has spread significantly or is difficult to control, MouldGone’s services ensure that your home is properly treated and restored. Their 6-month warranty on treatments provides peace of mind, ensuring that your home stays mould-free for the long term.
Conclusion
Dealing with mould on walls doesn’t have to be an overwhelming task. By acting quickly and using the right tools, homeowners can safely manage minor mould issues and prevent them from spreading. Regular cleaning and preventive maintenance further reduces the likelihood of mould recurrence, ensuring your home remains healthy and safe.
However, if you notice signs of large-scale mould growth or recurring issues, don’t hesitate to book a professional mould inspection with MouldGone. Their team of experts can provide a thorough assessment of the problem and offer effective solutions to restore your home.
Remember, early action is key to preventing more extensive damage. Whether you’re managing a minor mould issue yourself or need professional help, MouldGone is here to support you in maintaining a mould-free environment. If you’re unsure how to remove mould from walls or need expert assistance, booking a professional inspection is a critical best step.
Book a Mould Inspection with MouldGone to get expert help for your mould issues today!


