
Home / Articles / Removing Bathroom Mould in Singapore’s Humid Weather
Bathroom mould is a common problem in Singapore, and learning how to boldly remove bathroom mould safely and effectively is essential for maintaining a hygienic home. High humidity, warm temperatures, and constant moisture create the perfect environment for mould to thrive. This page explains when DIY cleaning may help, when professional support is necessary, and how Mouldgone can ensure long-lasting protection. With industry expertise and non-toxic solutions, Mouldgone delivers safe, effective bathroom mould removal tailored to homes in Singapore.
Key Takeaways
- DIY methods can help remove bathroom mould on small, manageable surfaces, but rarely eliminate concealed spores or moisture problems.
- Professional mould removal offers deeper cleaning, longer-lasting results, and safety measures essential for Singapore’s high-humidity environment.
- Long-term mould control requires addressing airflow, leaks, and moisture sources, not just surface cleaning.
- Investing in expert treatment prevents recurring mould, protects your health, and reduces renovation or repair costs over time.
- Understanding where mould hides (tiles, grout, ceilings, sealants, and pipes) helps homeowners choose the right removal method.
Table of Contents
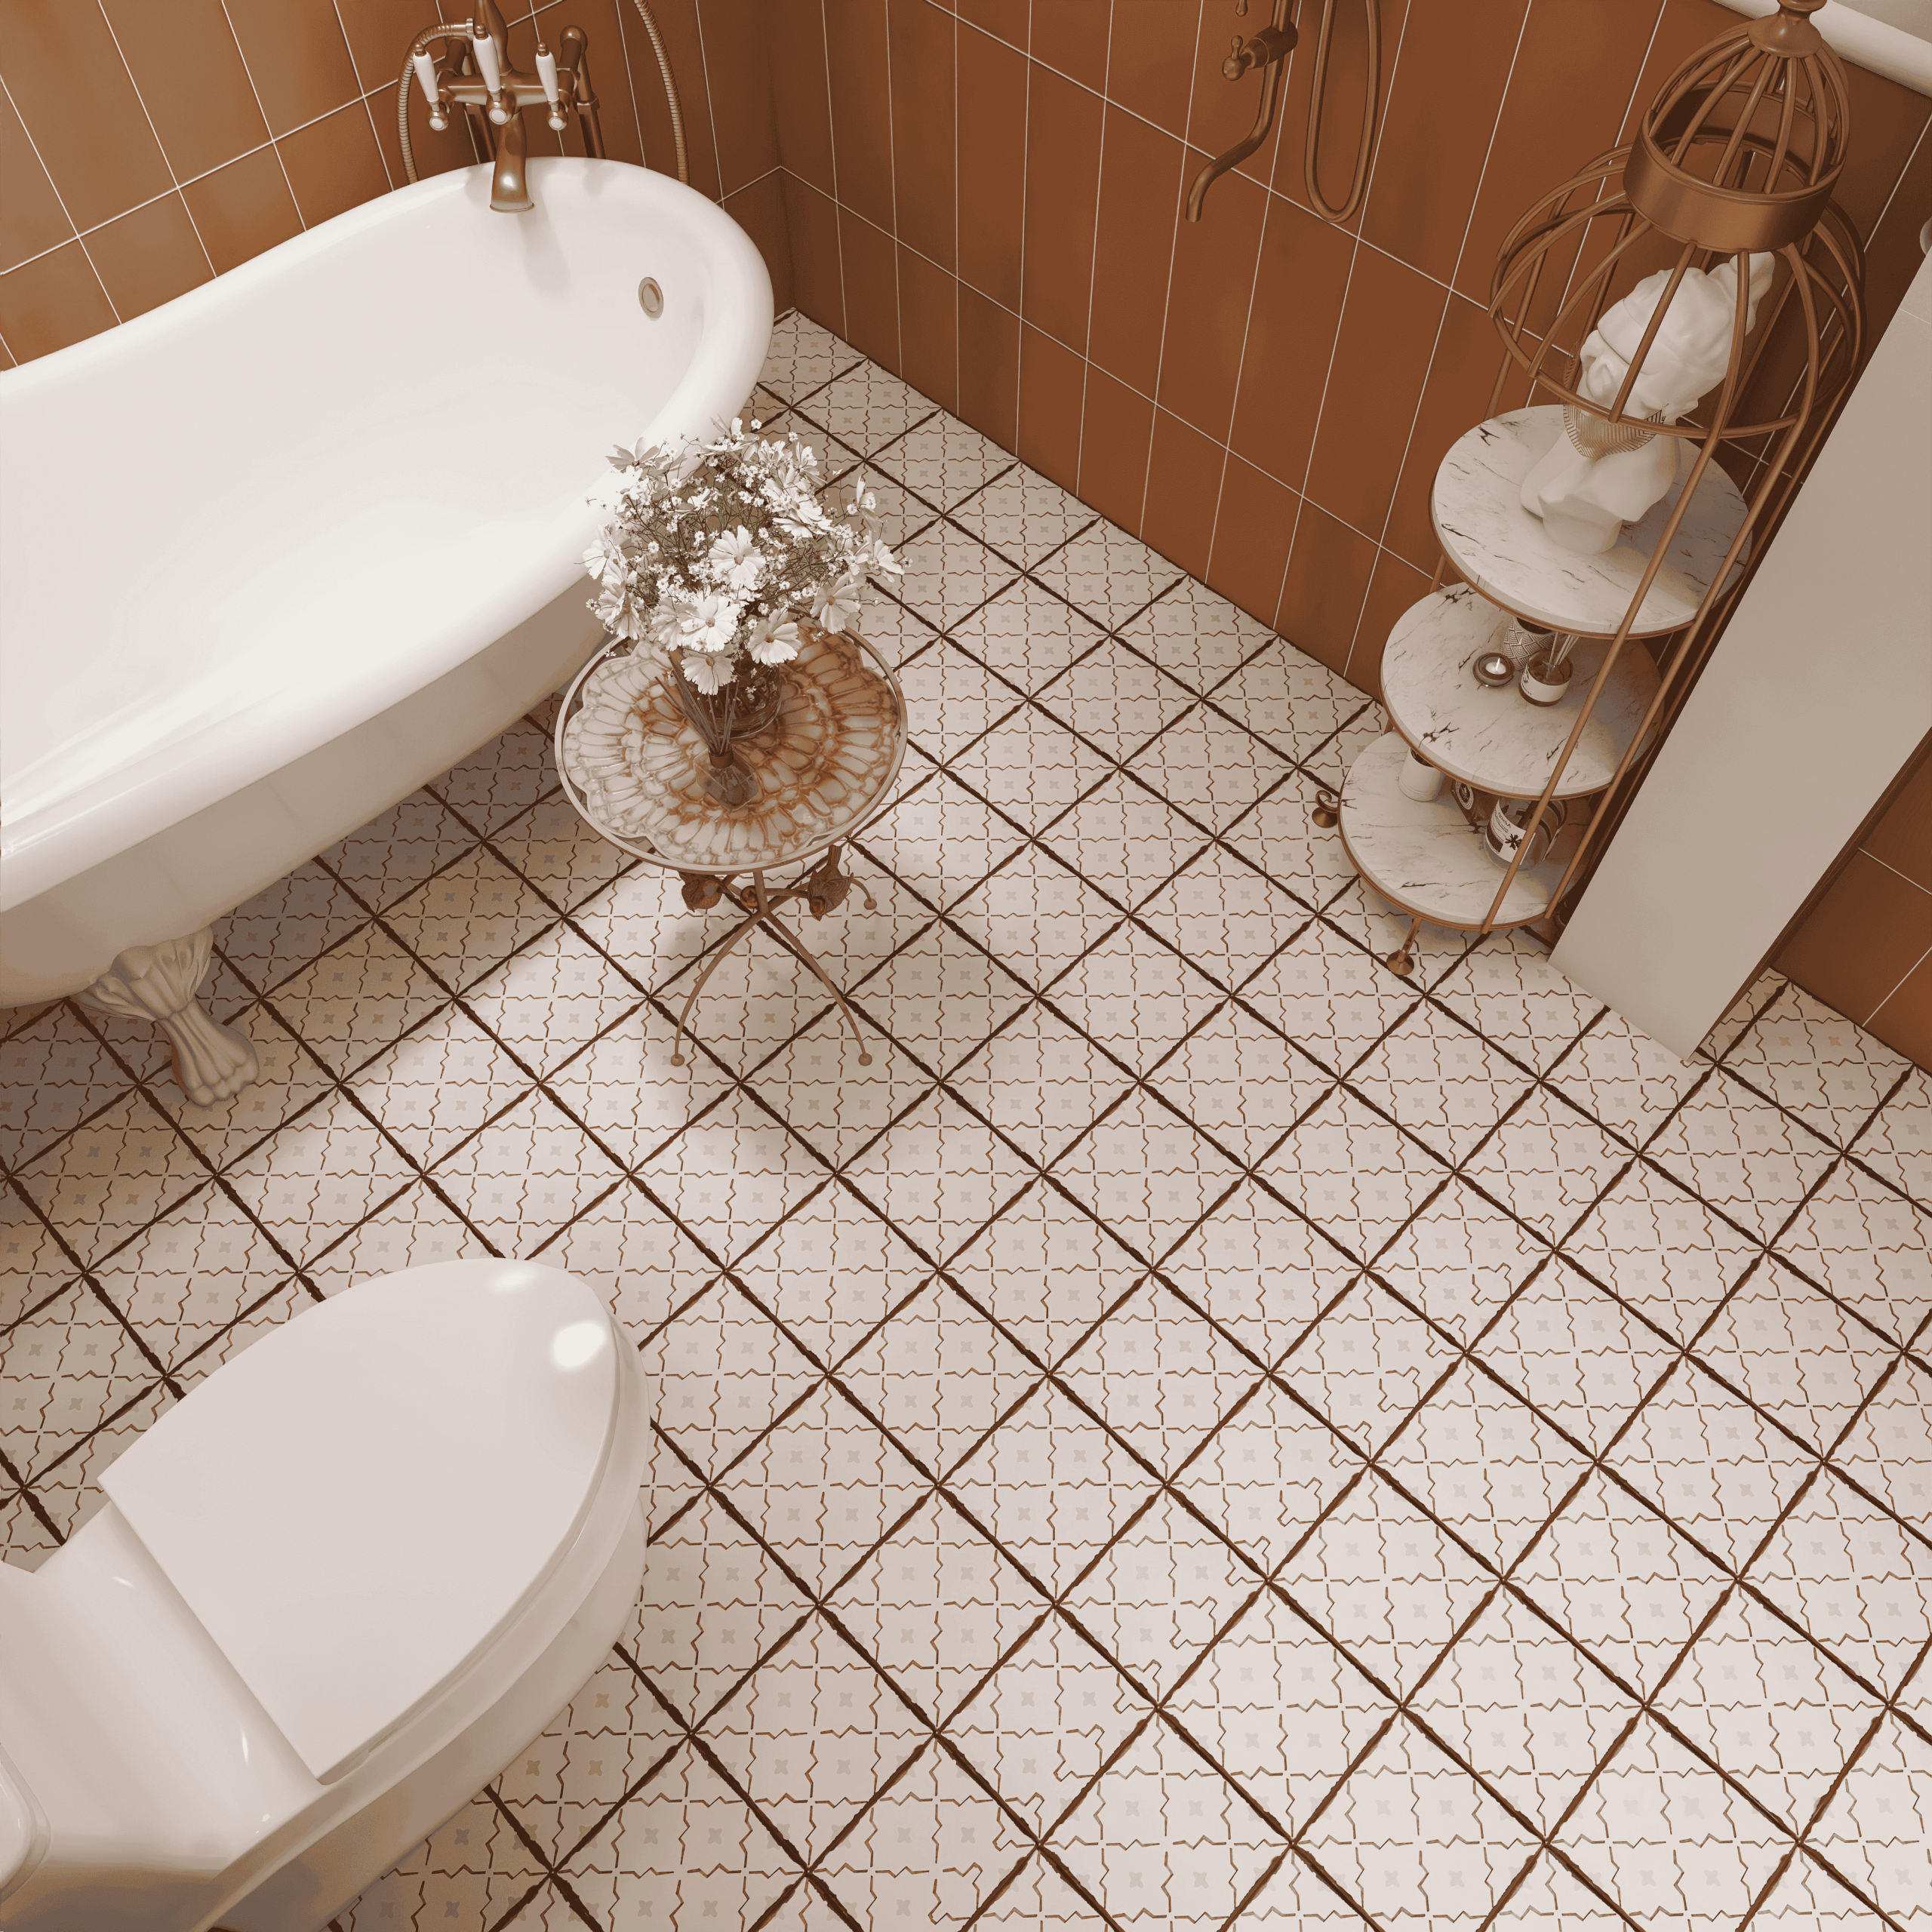
Removing Mould on Bathroom Tiles and Grout
Bathroom tiles and grout are among the first places mould appears, especially in wet zones like showers. These porous surfaces absorb moisture easily, allowing mould to take root deep within the material. If not treated promptly, the mould can spread to surrounding surfaces, including mouldy walls, flooring, and even silicone sealants.
 Why Tiles and Grout Are Prone to Mould
- Tiles remain wet for long periods after showers
- Grout is porous, trapping water and soap residue
- Warm, humid bathroom environments accelerate mould growth
- Poor ventilation prevents surfaces from drying fully
How to Remove Mould from Tiles and Grout
Try these steps for mild or early-stage mould patches:
- Vinegar application: Spray white vinegar onto affected areas. Leave for 30 minutes, scrub gently with a brush, and rinse.
- Baking soda paste: Mix baking soda with water and apply to stained grout. Scrub with an old toothbrush for improved stain lifting.
- Hydrogen peroxide: Useful for tackling deeper discolouration on grout lines. Apply, allow time to react, and rinse thoroughly.
When to Call a Professional
DIY works only on surface mould. You should seek expert help when:
- Grout is darkened throughout
- Mould reappears days or weeks after cleaning
- There is a strong musty smell
- Tiles feel damp even hours after showering
- You suspect hidden moisture behind tiles or walls
Professionals use industrial-strength solutions, specialised tools, and moisture detection equipment to eliminate factors causing mould growth.
Cleaning Mould from Sink and Shower Sealants
Sink edges, shower screens, and silicone sealants around basins and bathtubs often develop mould due to continuous water exposure. When mould penetrates silicone, it becomes difficult to clean with basic DIY methods, as the mould sits beneath the surface of the sealant.
Why Sealants Develop Mould
- Silicone retains moisture
- Soap scum and dirt cling to the surface
- Tight corners trap stagnant water
- Lack of ventilation prevents proper drying
How to Remove Mould from Bathroom Sealants
Use these techniques on mild cases:
- Vinegar soak: Soak cotton pads with vinegar and press them against the mouldy sealant for 1–2 hours.
- Baking soda scrub: Apply baking soda paste and gently scrub to remove surface-level mould.
- Targeted cleaning gels: Some store-bought gels cling to vertical sealant lines and help lift mould effectively.
When Replacement Is Necessary
If the mould is deeply embedded, DIY is unlikely to solve the problem. You may notice:
- Persistent black stains
- Sealant that crumbles when touched
- Strong musty odours
Professionals may recommend removing and replacing the silicone entirely to restore hygiene and prevent regrowth.
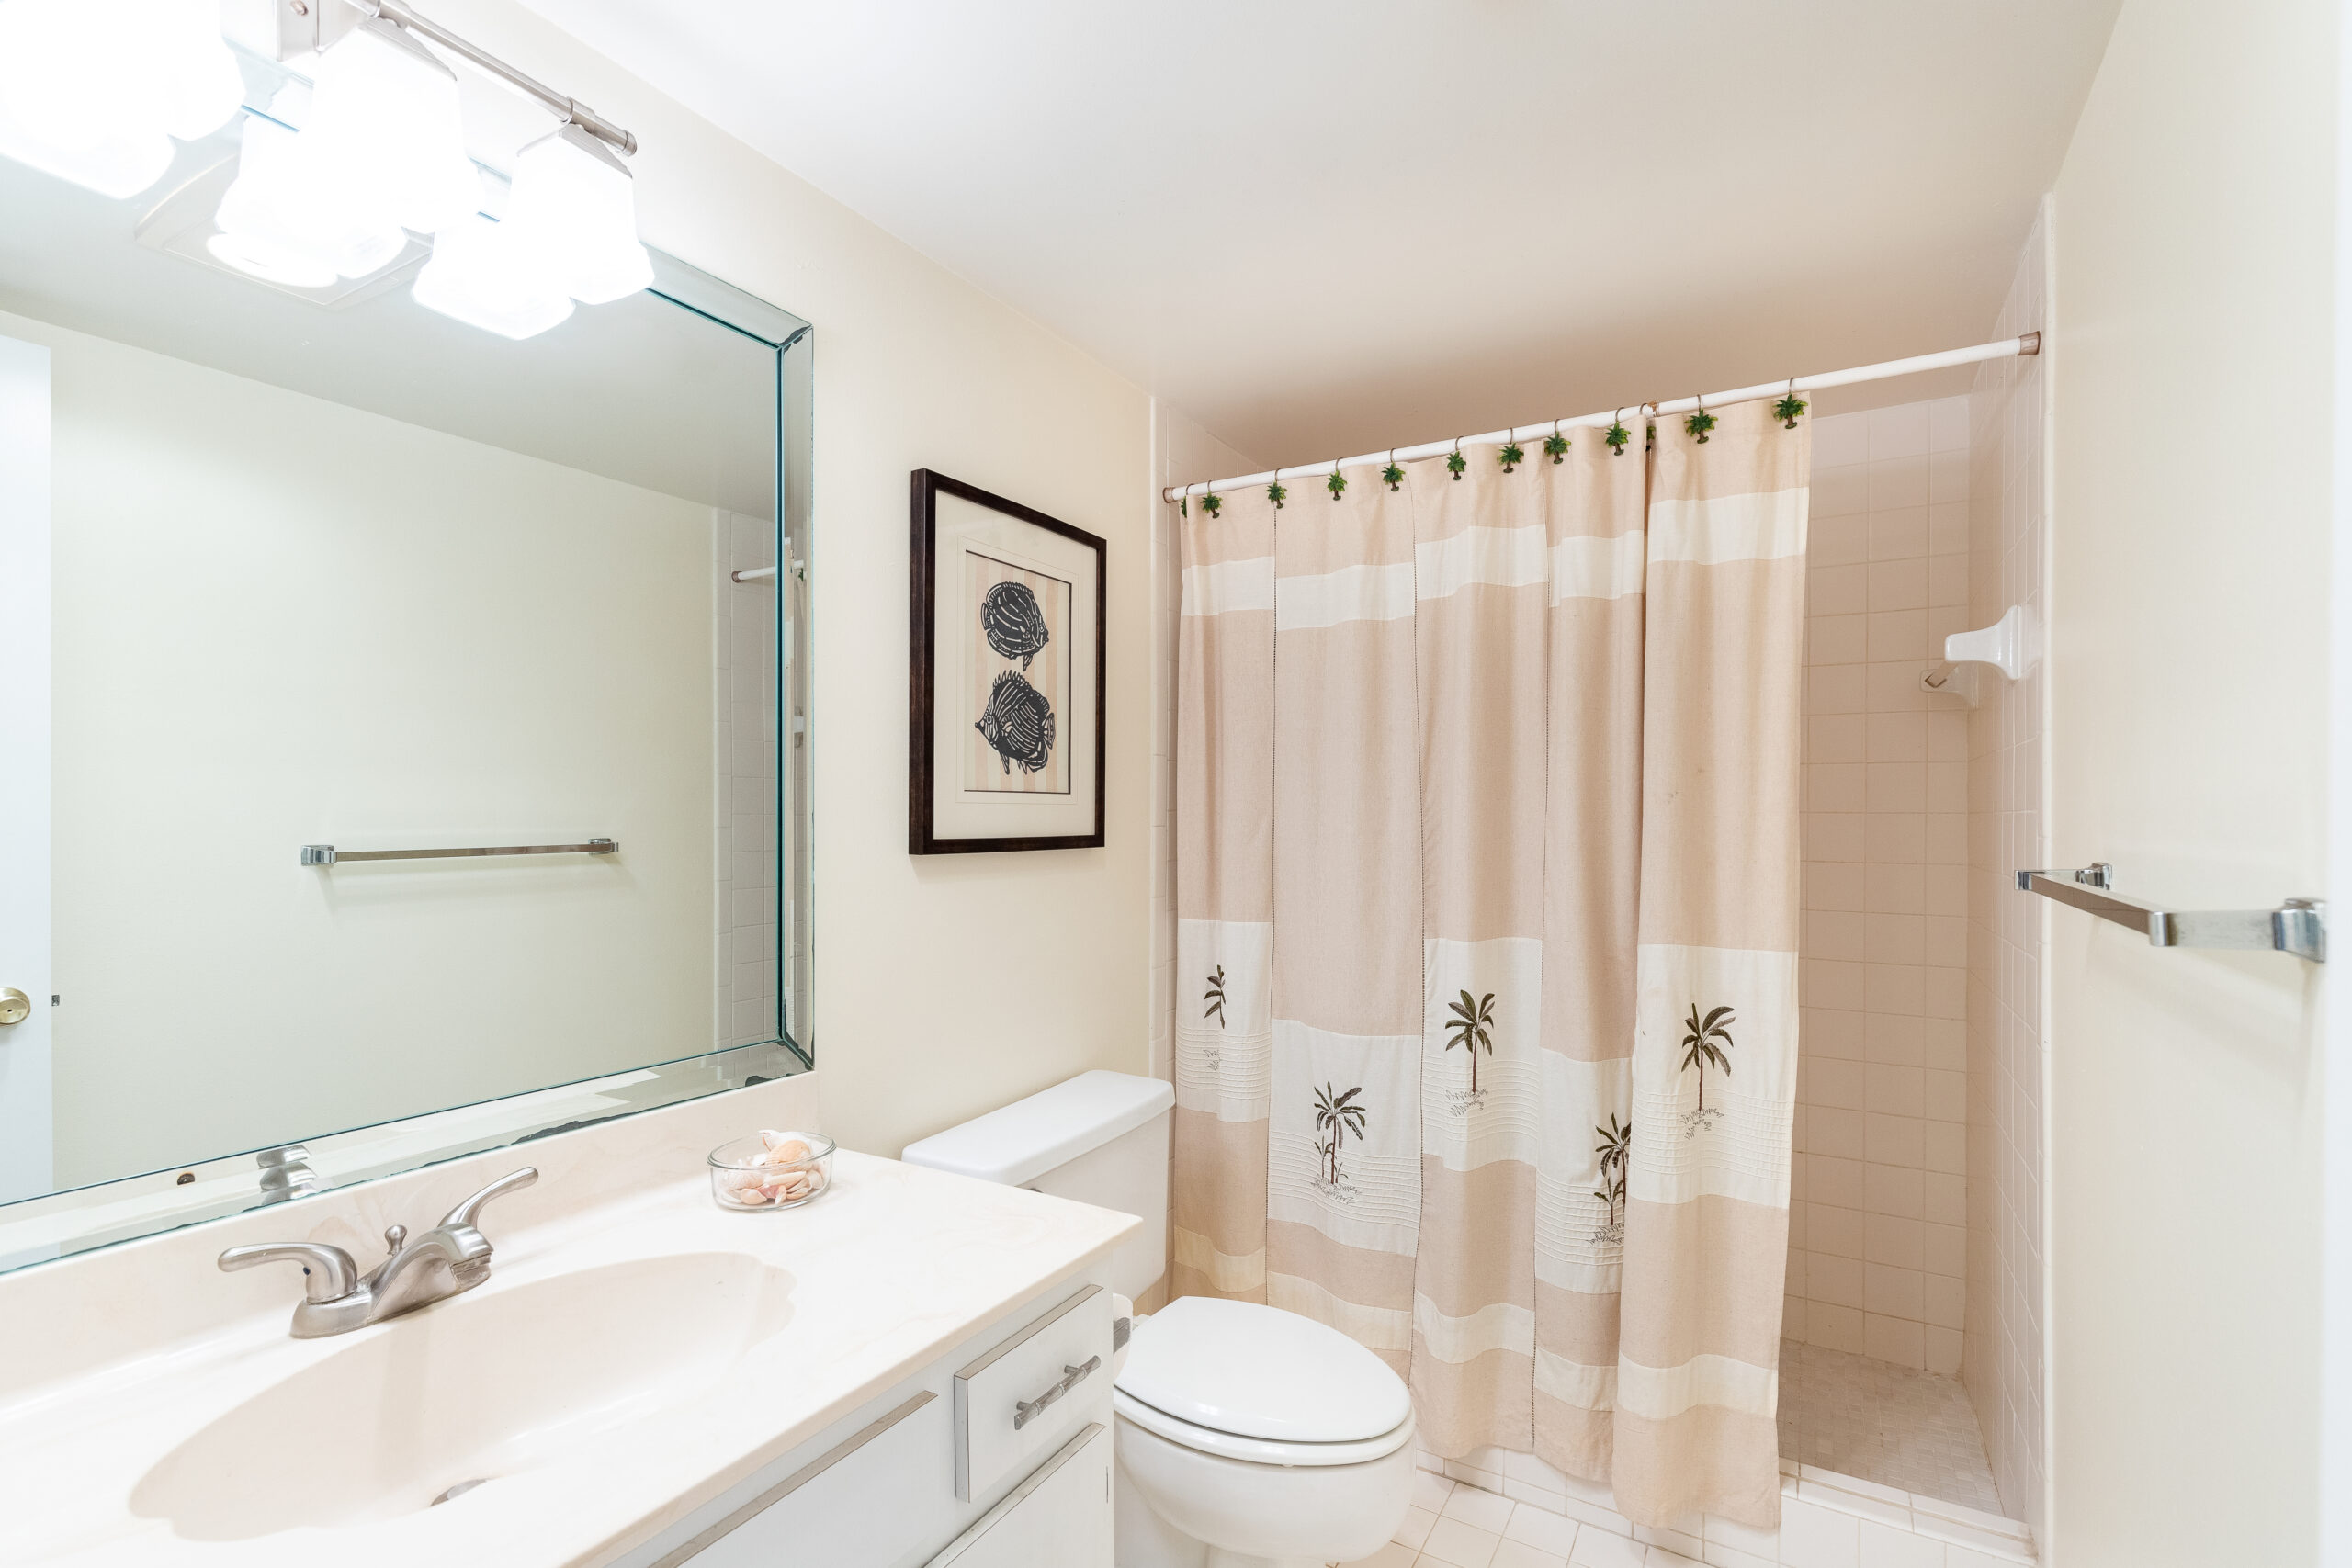
Removing Mildew Build-Up on Shower Curtains
Shower curtains are constantly exposed to moisture, soap residue, and warm air, the perfect mix for mildew growth. Over time, this build-up can produce a musty smell and leave unsightly dark patches, especially along the folds or hem where water collects.
.
Why Shower Curtains Develop Mildew
- Constant contact with water after each shower
- Fabric folds trap moisture, preventing proper drying
- Soap scum provides nutrients for mould and mildew
- Poor ventilation leaves the material damp for extended periods
How to Clean Mildew Off Shower Curtains
For fabric or plastic curtains with mild mildew:
- Vinegar rinse: Remove the curtain and soak it in warm water mixed with vinegar to loosen mildew.
- Baking soda scrub: Sprinkle baking soda directly onto the mildew patches and scrub gently using a soft brush or cloth.
- Machine wash (if applicable): Many curtains can be placed in the washing machine with mild detergent and a splash of vinegar for deeper cleaning.
- Sun drying: After cleaning, hang the curtain under direct sunlight whenever possible; UV rays help inhibit mildew growth.
When to Replace the Shower Curtain
If the mildew has penetrated the material or emits a strong odour even after washing, it may be more practical to replace the curtain entirely. In severe bathroom humidity, certain low-quality curtains deteriorate quickly and contribute to recurring mildew issues.
Safe Practices for Removing Bathroom Mould
When attempting to boldly remove bathroom mould on your own, safety should be your top priority. Mould spores can trigger allergies, irritation, or breathing difficulties when disturbed, making proper preparation essential.
Protective Equipment
Before cleaning, ensure you have the right protective gear to minimise exposure:
- Wear gloves to prevent direct skin contact with mould or cleaning agents.
- Use an N95 mask to reduce inhalation of spores released during cleaning.
- Wear protective eyewear to shield your eyes from splashes or airborne particles.
- Long-sleeved clothing can also help prevent spores from settling on your skin.
Ventilation
Always ensure proper ventilation before and during the cleaning process.
- Open bathroom windows and doors to allow air circulation.
- Turn on exhaust fans to help remove spores and chemical fumes.
- Use a small portable fan aimed outward to direct spores away from you.
Proper ventilation reduces airborne mould levels and helps the bathroom dry more quickly afterwards.
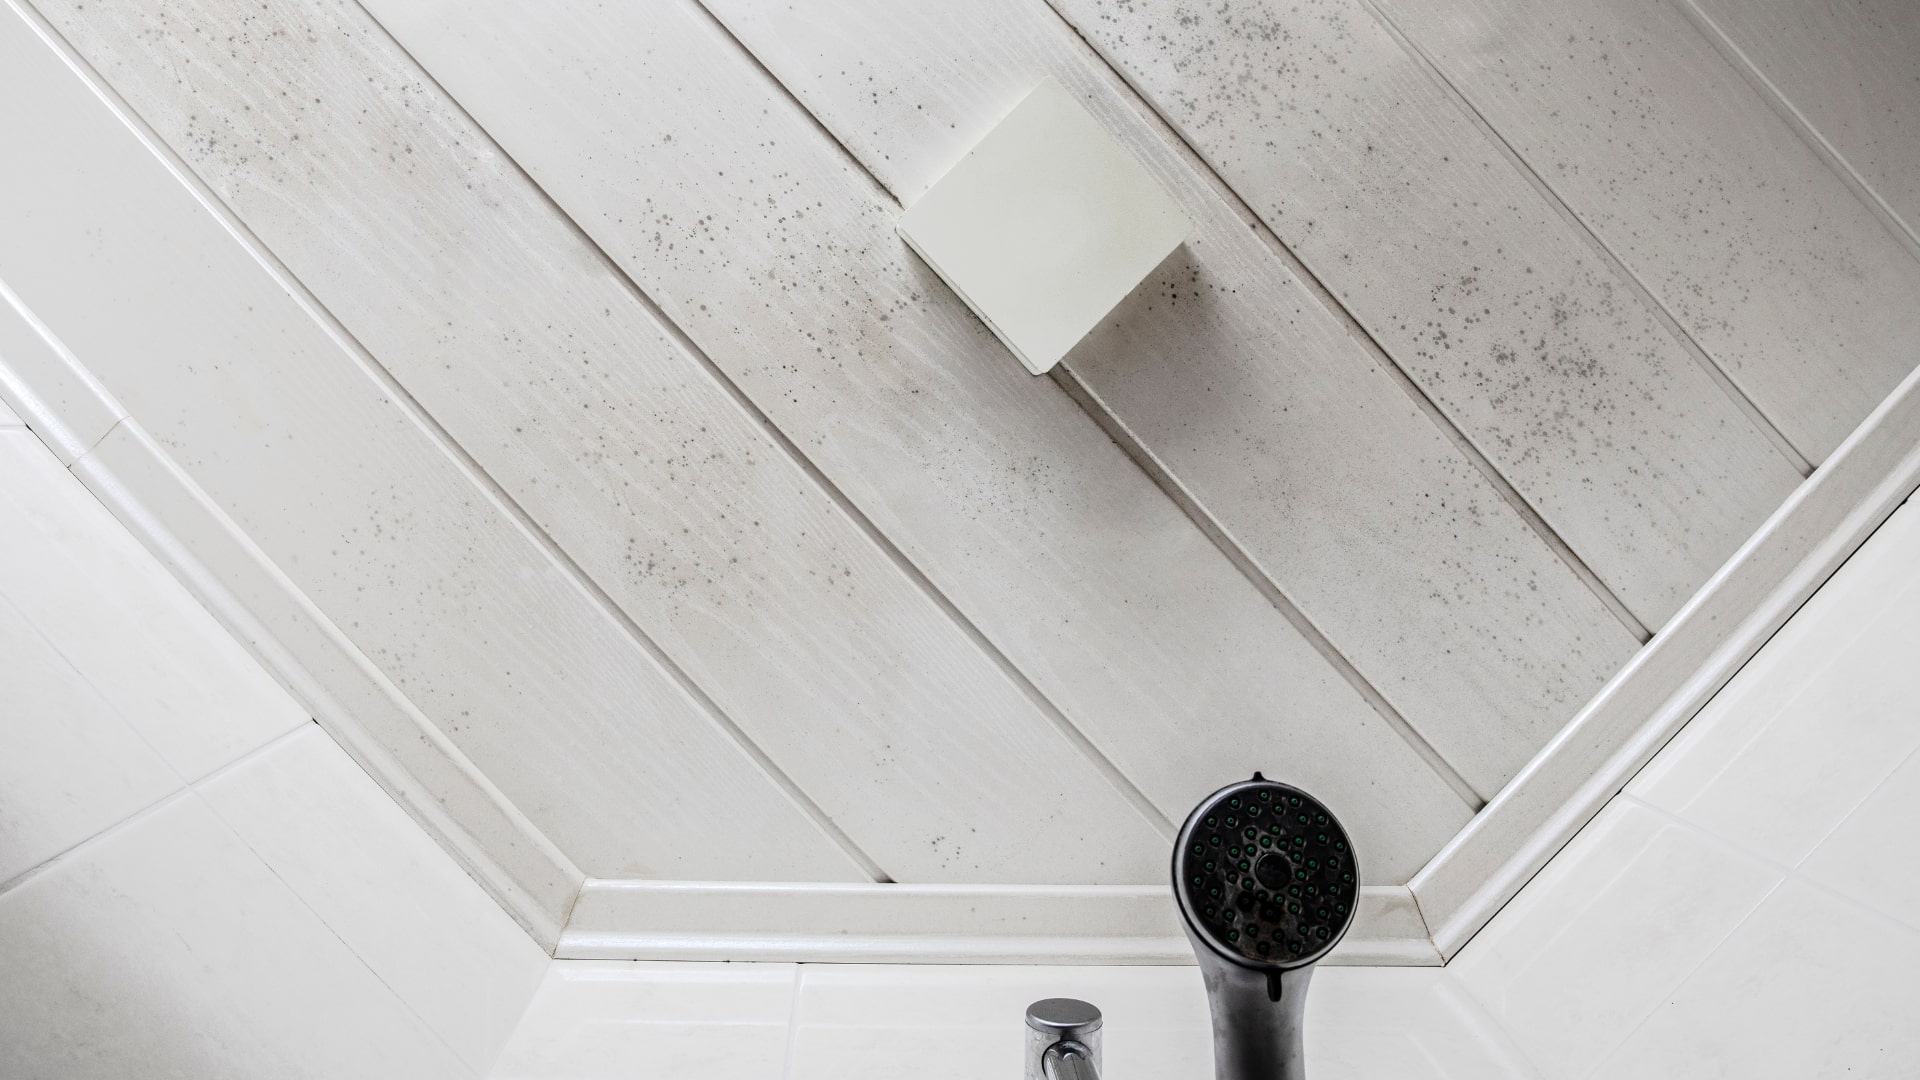
Check for Hidden Mould in the Bathroom
Surface-level mould is often only the beginning. Hidden mould may be growing in:
- False ceiling cavities
- Behind wall tiles
- Under sink cabinets
- Behind mirrors or vanity panels
- Inside silicone joints or sealants
If you detect musty smells, bubbling paint, or persistent dampness even after cleaning, a deeper investigation may be needed. Professionals have moisture-detection tools to identify these concealed mould pockets safely.
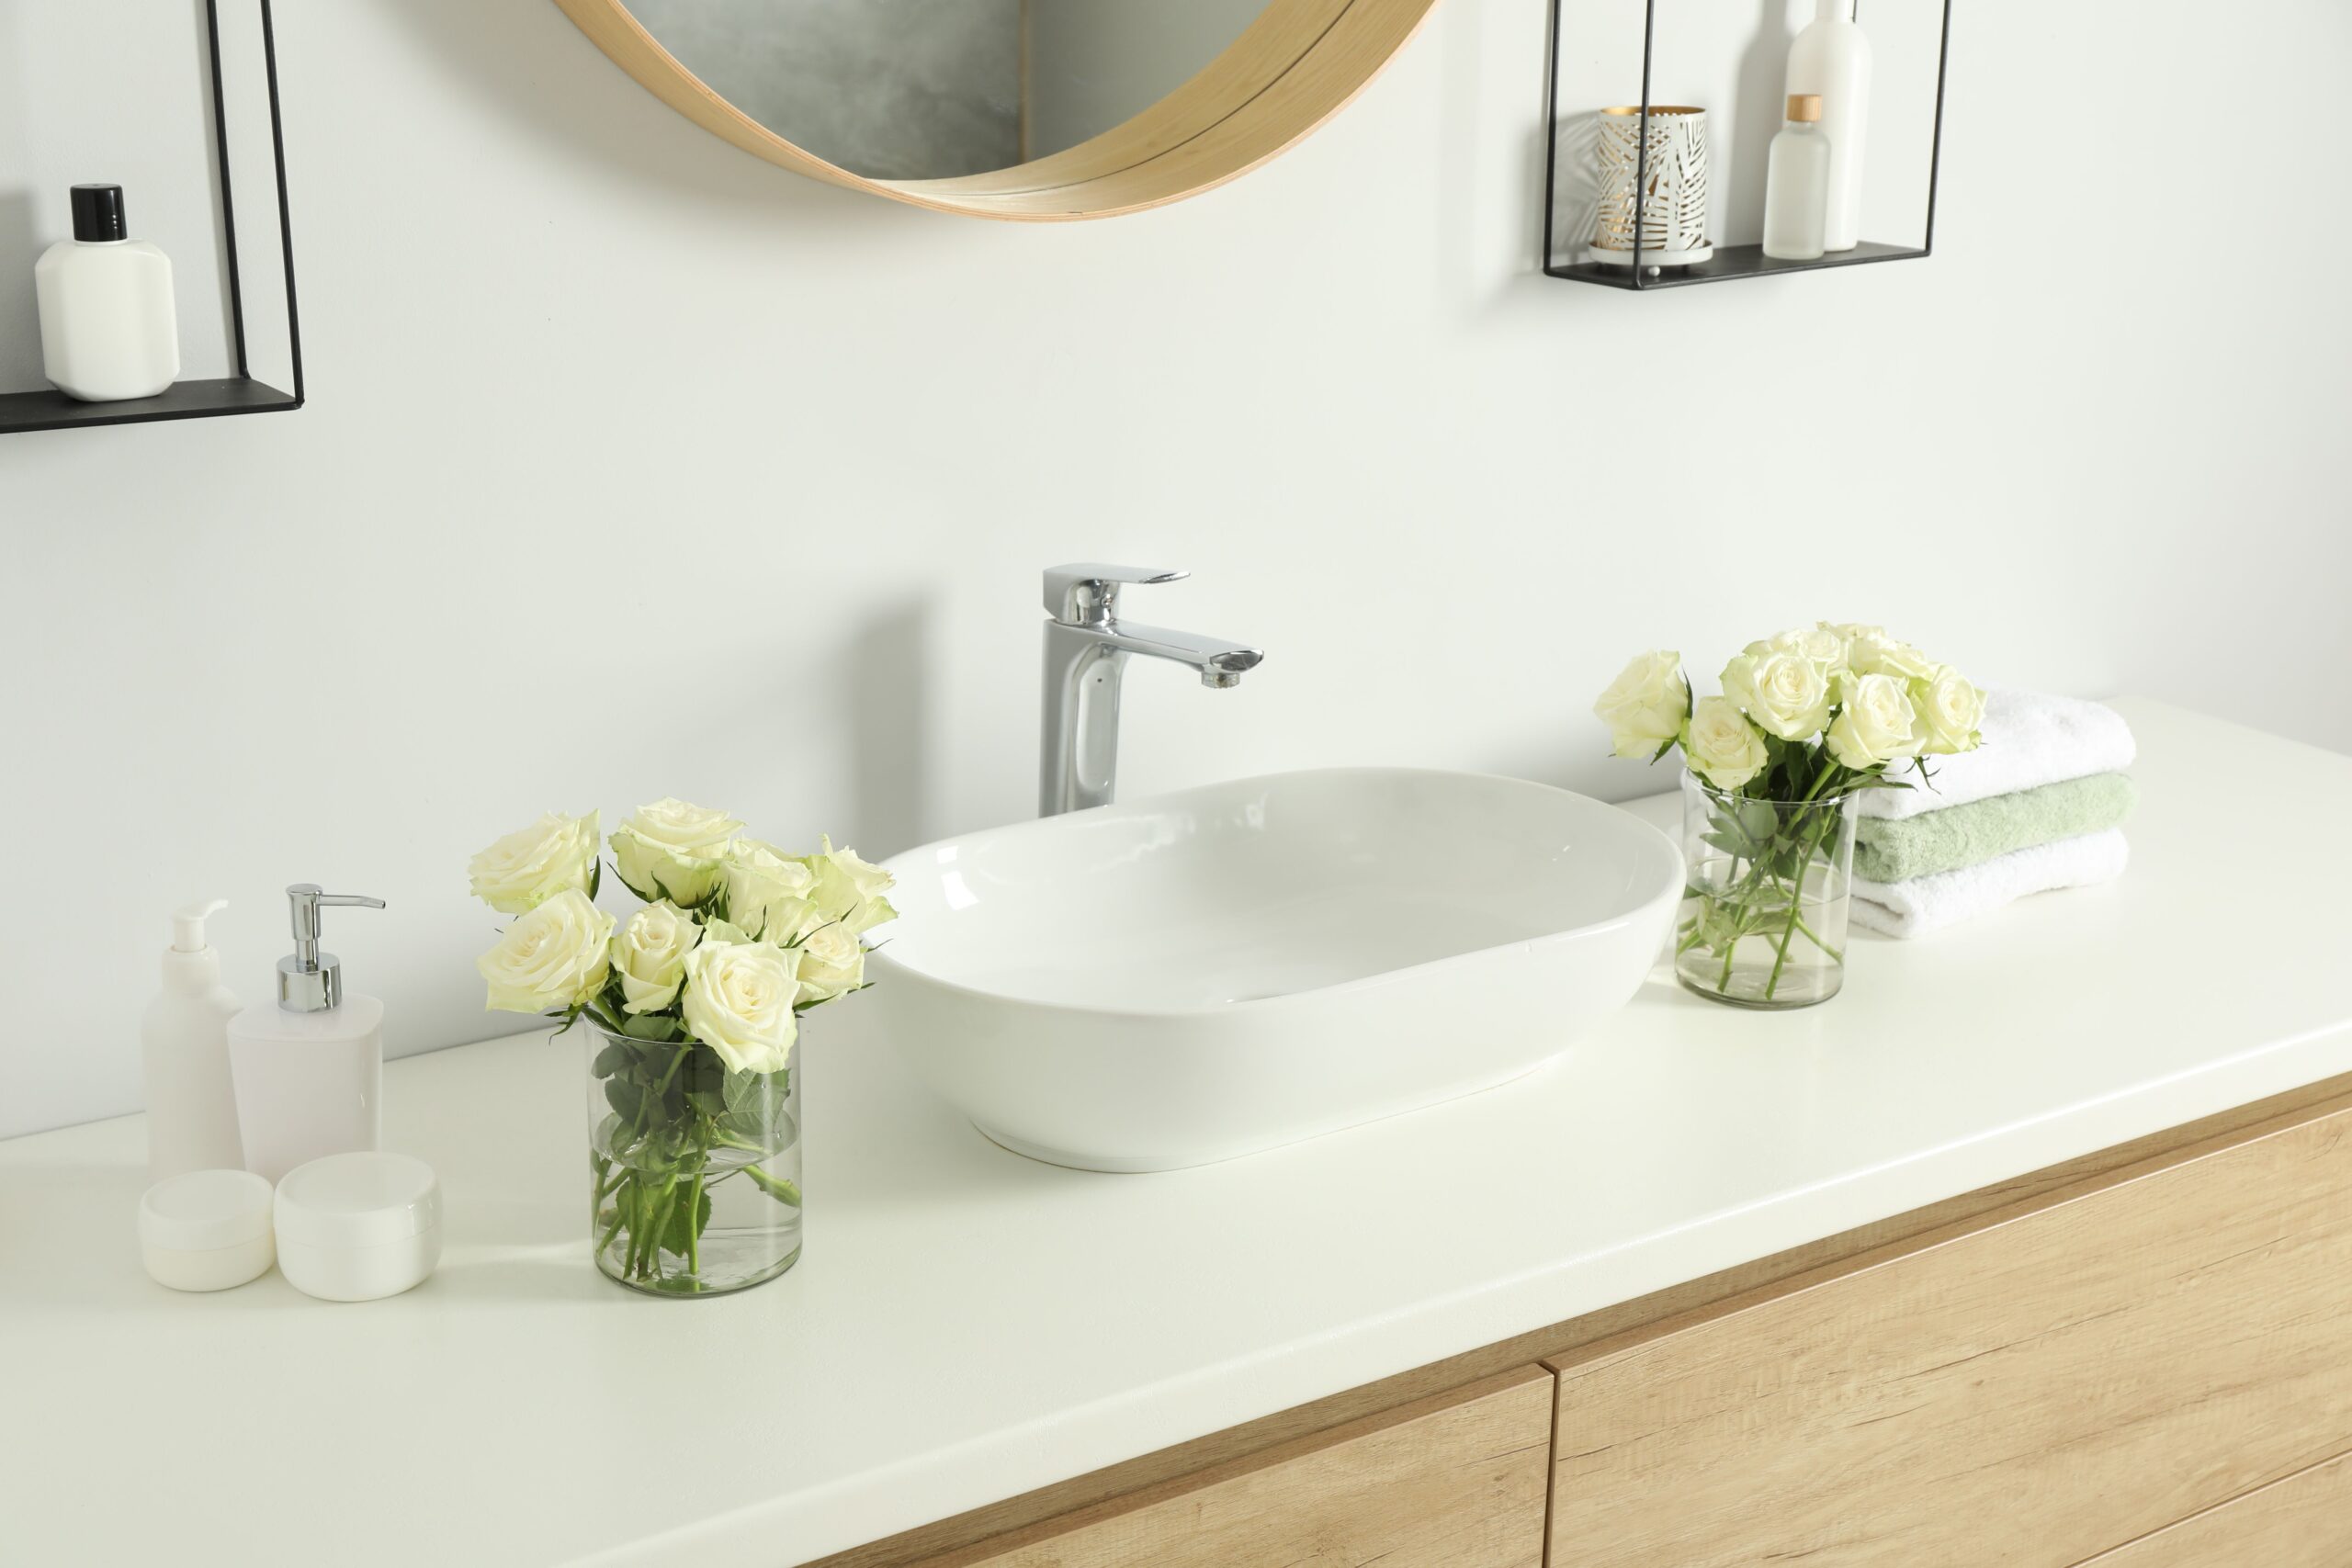
Preventing Mould in the Bathroom
Good prevention is the best long-term strategy for maintaining a healthy bathroom. With Singapore’s high humidity levels, mould prevention requires consistent airflow, moisture control, and good bathroom habits. Here are practical ways to reduce the risk of mould returning after you bold remove bathroom mould.
Leave The Window Ajar
Keeping the bathroom window slightly open allows humid air to escape naturally, especially after showers.
Strong Intermittent Ventilation
Switch on the exhaust fan during and after showers for at least 15–20 minutes to promote airflow and speed up drying.
Electric Fan
If your bathroom has no ventilation window, position a portable fan outside the door to blow fresh air in or push humid air out.
Eliminate Moisture
- Wipe down wet areas such as glass screens, tiles, and countertops after each use. This prevents pooling water, the number one driver of mould growth.
Keep The Shower Cabinet Door Open
Leaving the shower door open after bathing allows trapped moisture to evaporate more quickly.
No Wet Laundry
Avoid hanging damp clothes or towels in the bathroom. Wet laundry dramatically increases humidity and encourages mould growth.
Does DIY Cleaning Really Work?
When you try to remove bathroom mould on your own, common methods include vinegar, baking soda, or supermarket sprays. These are effective for tackling surface-level stains, but the problem often runs deeper. Mould can hide above false ceiling, on false ceiling, or behind walls, where household cleaning agents can’t reach. Over time, the mould inevitably returns, leaving you stuck in a frustrating cycle of cleaning.
On the other hand, professionals use industry-grade equipment and specialised anti-fungal solutions to remove bathroom mould. A mould specialist in Singapore is trained to eliminate spores at the factors causing mould growth and apply preventive treatments to stop regrowth. This approach doesn’t just make your bathroom look clean—it actually keeps it mould-free for longer.
Important: Advanced mould infestations should always be handled by trained professionals. Attempting to clean deep-seated or widespread mould on your own may cause spores to spread throughout the bathroom or even to other parts of your home. When mould has penetrated silicone, grout, or hidden cavities, DIY cleaning is no longer sufficient. Engaging a tiling contractor ensures safe silicon replacement, and long-lasting protection, helping you avoid further contamination and costly damage.
Safety and Health Risks When Removing Bathroom Mould
DIY methods may seem harmless, but scrubbing mould without proper protection can release spores into the air. Without the right masks or ventilation, exposure can trigger allergies, skin irritation, or even respiratory problems. This is especially concerning when dealing with black mould, which is more toxic.
Professional services prioritise safety. Trained technicians follow strict protocols to contain and treat affected areas. During a mould inspection, they can identify hidden patches and assess whether the mould poses health risks. For families with children, elderly members, or anyone with asthma, this professional layer of protection is invaluable.
Cost and Long-Term Benefits of Professional Removal
At first glance, doing it yourself seems cheaper. After all, vinegar or sprays cost just a few dollars. However, because mould often grows back quickly, you may find yourself spending more on repeated cleaning products and effort. In severe cases, untreated mould can damage your paint , or even structural materials, leading to costly repairs down the line.
Professional mould treatment involves a higher upfront investment, but the value lies in long-term effectiveness. By tackling the factors causing mould growth, professionals reduce the chances of recurring infestations, ultimately saving you money and sparing you from future renovation headaches.
Time and Convenience of Hiring Mould Removal Experts
DIY cleaning isn’t just messy—it’s also time-consuming. Scrubbing bathroom walls, ceilings, and hidden corners can take hours, and it’s physically demanding if the mould has spread. Even then, results are often temporary.
In contrast, hiring experts is far more convenient. With advanced tools and proven techniques, professional mould removal in Singapore can often be completed within a few hours, with minimal disruption to your daily routine. You’ll enjoy peace of mind knowing your bathroom is not just clean but protected against future mould growth.
While DIY methods can provide a short-term fix, they rarely address the underlying problem. If you want to effectively remove bathroom mould and prevent it from returning, professional help is the smarter choice in Singapore’s humid weather. With better safety, long-term value, and convenience, our mould specialists ensure your bathroom remains a healthier and more comfortable space.
Need Professional Help to Tackle An Advanced Mould Infestation?
Frequently Asked Questions on Removing Bathroom Mould
How Do I Know If My Bathroom Is Well-Ventilated?
A well-ventilated bathroom dries quickly after showers and does not trap lingering humidity or musty smells. Your bathroom may have poor ventilation if you notice:
- Mirrors that take a long time to clear after a shower
- Walls or tiles that remain damp for hours
- A persistent musty odour even after cleaning
- Condensation forming on windows or ceilings
- Peeling paint or early signs of mould growth
Healthy ventilation allows moisture to escape, reducing the need to constantly remove bathroom mould. If improving airflow doesn’t help, a specialist can assess whether hidden moisture is contributing to the problem.
What Causes Mould to Build Up in the Bathroom?
Mould thrives in warm, humid environments, conditions that bathroom spaces naturally produce. Common causes include:
- High humidity levels: Daily showers generate steam that condenses on surfaces.
- Poor airflow: Bathrooms without windows or with weak ventilation trap moisture.
- Soap scum and residue: Shampoo and body wash residue feed mould spores.
- Leaky pipes or fittings: Hidden leaks behind tiles or basins introduce continuous moisture.
- Damp towels and laundry: Items left to dry indoors raise humidity levels and encourage mould.
- Damaged grout or sealants: Cracked grout lines and ageing silicone trap water, allowing mould to spread beneath the surface.
Addressing these conditions is essential for long-term prevention, not just surface cleaning.
Which Types of Mould Are Common in Bathrooms?
Bathrooms typically develop several types of mould due to constant moisture. While some are less harmful, all should be treated promptly to protect your home and health. Here are the most common types:
Cladosporium
Often appears as dark green, brown, or black patches. This mould thrives on damp tiles, grout, and shower curtains and spreads quickly if not addressed.
Aspergillus
It can appear white, yellow, or dark-coloured. It is commonly found in areas with consistently high humidity, such as ceilings, corners, and ventilation pathways.
Stachybotrys (Black Mould)
Known for its slimy black appearance, this type of mould develops on constantly damp surfaces, especially where leaks or water damage are present. Because of potential health risks, black mould should be handled by professionals rather than attempting to remove bathroom mould yourself.

